This tutorial contains notes about Travis CI.
1. Travis CI
Travis CI is a easy to use build server for projects hosted on GitHub, where the projects easily can be tested and deployed. Even pull requests (PRs) can be built automatically with Travis CI.
It is available here: https://travis-ci.org/
For Open Source projects on GitHub the Travis CI service is for free.
2. Setup
Go to https://travis-ci.org/ and press the Sign Up or Sign in with GitHub button.
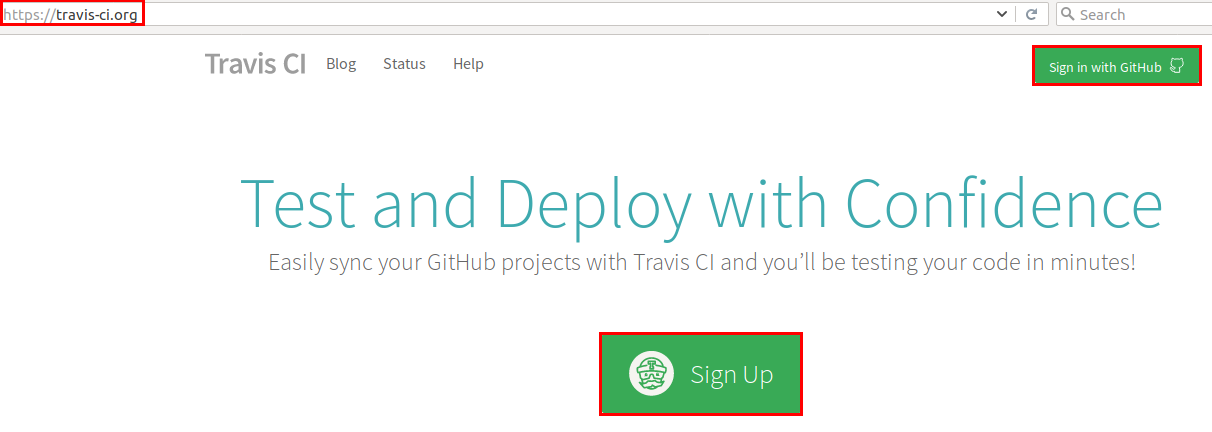
Once the Sign Up button has been pressed a redirection to GitHub will take place to authorize Travis CI as application.
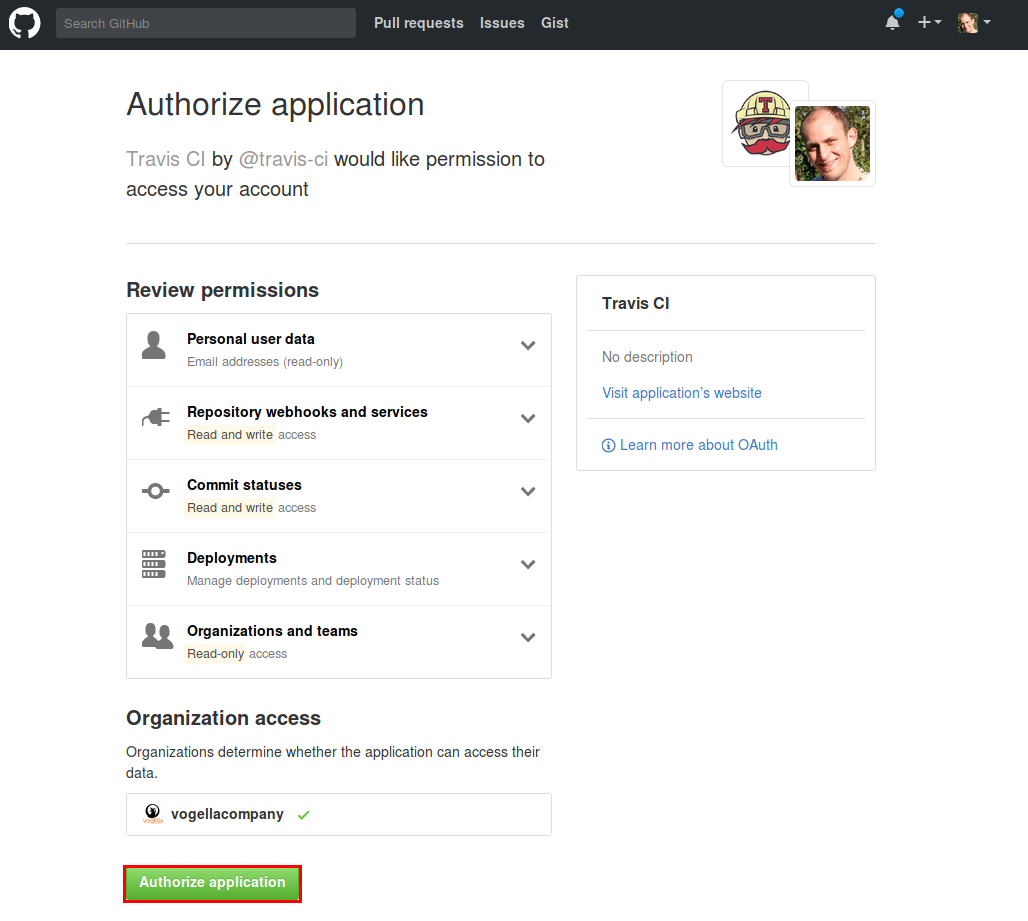
Press Authorize application to authorize Travis CI, confirm this with your password and Travis CI will check which repositories are available.
|
Now Travis CI should be listed as application in the settings. 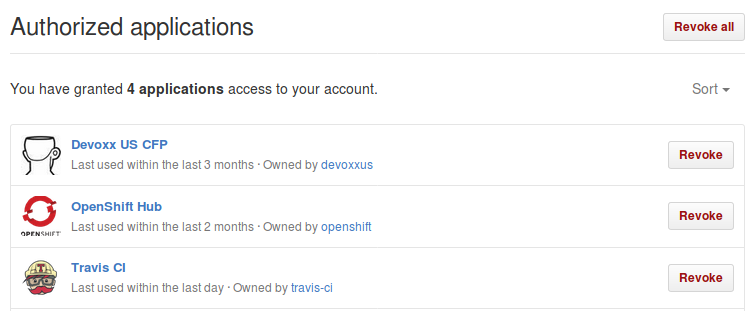 |
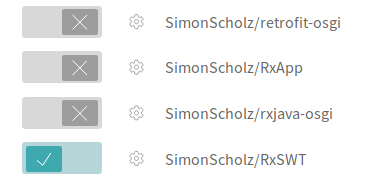
3. Adding a Repository
Once the setup is done and Travis CI has access to the projects a build can be activated by going to the https://travis-ci.org/profile.
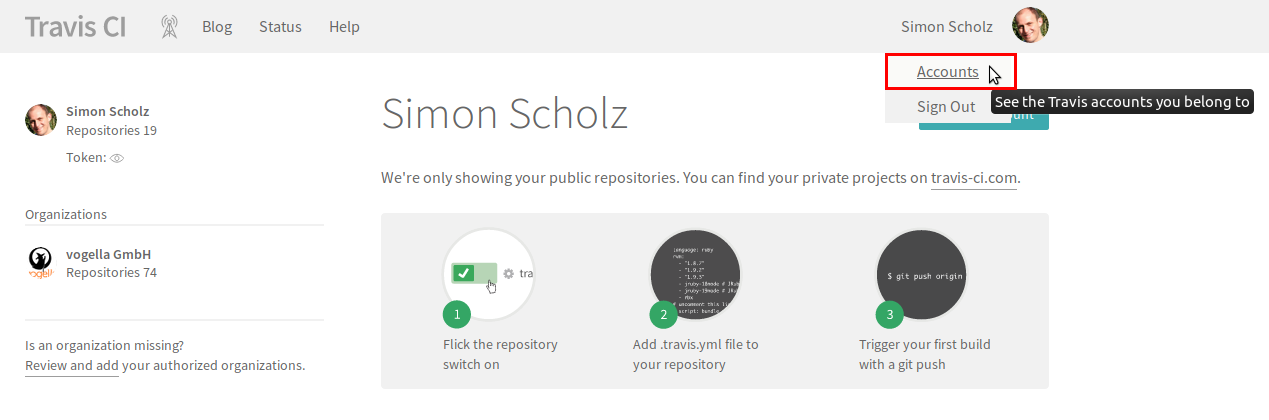
A certain Repository can be activated by pressing the switch button.
4. .travis.yml Configuration
Travis requires a .travis.yml file to run. As a minimum this file must specify the programming language to be used. For Java, Travis supports Maven and Gradle as build system out of the box.
A minimal .travis.yml file for a Maven or Gradle project looks like the following:
language: java.travis.yml files can be valided here: https://lint.travis-ci.org/
Supported programming languages can be found here: https://docs.travis-ci.com/user/languages/
A usual .travis.yml file for a Java project that uses Gradle could look like this:
language: java
# use Java 8
jdk:
- oraclejdk8

# see https://blog.travis-ci.com/2014-12-17-faster-builds-with-container-based-infrastructure
sudo: false

# cache the build tool's caches
cache:
  directories:
  - $HOME/.m2
- $HOME/.gradle|
When a Gradle wrapper is available Travis CI will build your project by using the Please ensure to upload all Gradle wrapper files, including the gradle-wrapper.jar file, which might be filtered by the .gitignore file. |
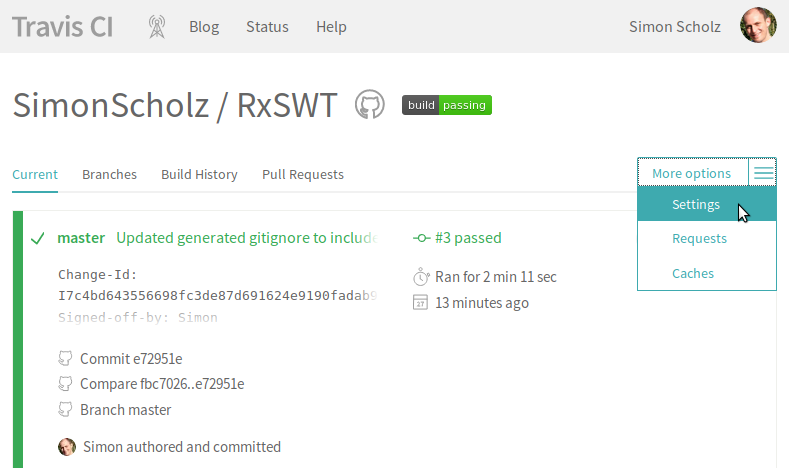
5. Triggering a build
How a build can be triggered can be configured in the settings section.
The settings section can be found in the menu.
Here it can be enforced that a .travis.yml file has to be present to start a build and whether a build should be triggered at any time a push occurs or even if pull requests come in.
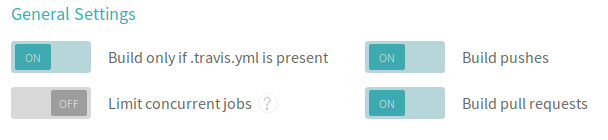
With these options being activated and having a proper .travis.yml configuration simply pushing a new commit is enough to trigger a new build.
|
The first build must be triggered by a 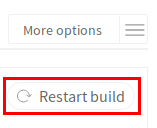 |
6. Showing a status icon
To let the users trust in the library the build status determined by Travis CI is often shown in public.
To do this simply click on the build status icon and choose from several options for embedding the status icon.
In the Status Image dialog a status from a certain branch can be queried.
And besides ASCIIDOC there are many other templates for formats to embed the icon:
-
IMAGE_URL
-
MARKDOWN
-
TEXTILE
-
RDOC
-
ASCIIDOC
-
RST
-
POD
-
CCTRAY
7. Using a display during the build
To use and test a UI toolkit during the build xvfb can be used.
It can be activated in the .travis.yml file with the following before_script statement.
# Specify a display with xvfb for UI testing
before_script:
  - "export DISPLAY=:99.0"
  - "sh -e /etc/init.d/xvfb start"
  - sleep 3 # give xvfb some time to start
8. TravisCi resources
8.1. vogella Java example code
If you need more assistance we offer Online Training and Onsite training as well as consulting