This tutorial describes how to use the Eclipse installer based on Oomph. It also describes how to create and maintain custom setup files for Oomph to provide your standard configuration for the Eclipse IDE.
1. How can you provide a customized Eclipse IDE to your team?
Setting up a development environment can be a time consuming task. Such a setup can include:
-
the installation of certain plug-ins
-
the configuration of certain preferences
-
cloning certain Git repositories
-
importing projects from these Git repositories
Doing all this manually can be time consuming and error prone.
Oomph is the technology used for the Eclipse installer and this technology can also be used to provision a pre-configured and customized Eclipse IDE for the developer team. Oomph allows to automate this setup process via a setup profile. This setup profile contains the tasks for setting up your custom Eclipse IDE.
The Oomph installer allows to choose this profile and applies these settings automatically.
2. Using the Eclipse installer with predefined profiles
The following description explains how to use the Eclipse installer with the pre-configured configuration files.
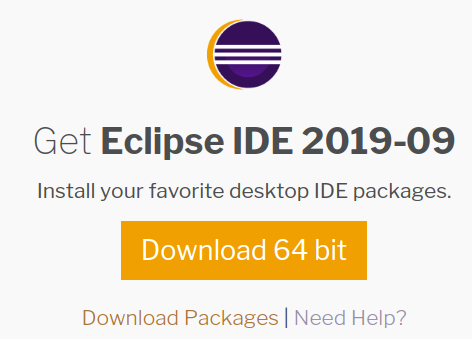
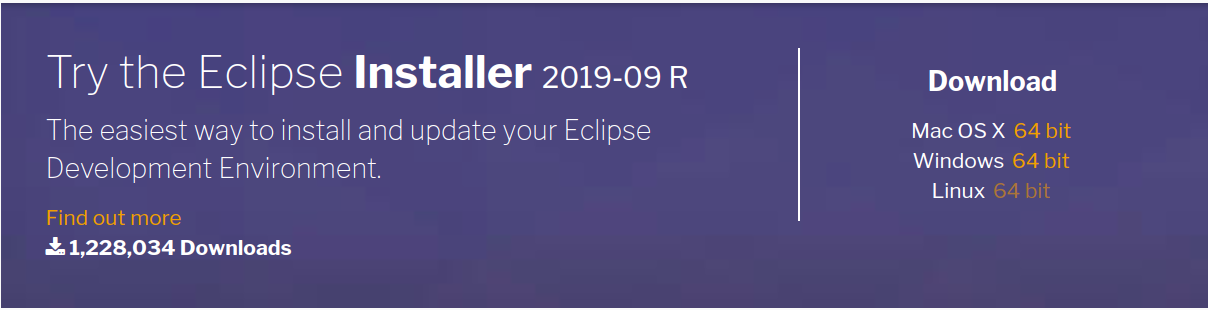
2.1. Download the Eclipse installer
The Oomph installer can be found on http://www.eclipse.org/downloads/ Download the installer package fitting to your platform and extract it.
The installer is a small Eclipse application.
2.2. Start the installer
In the extracted download you find the eclipse-inst or eclipse-inst.exe file, which you can use to start the installer.
Start the installer and choose a certain Eclipse distribution. This will download the selected package and start it.
2.3. Choose and use default profiles
To work with a profiles, switch to the ADVANCED MODE…
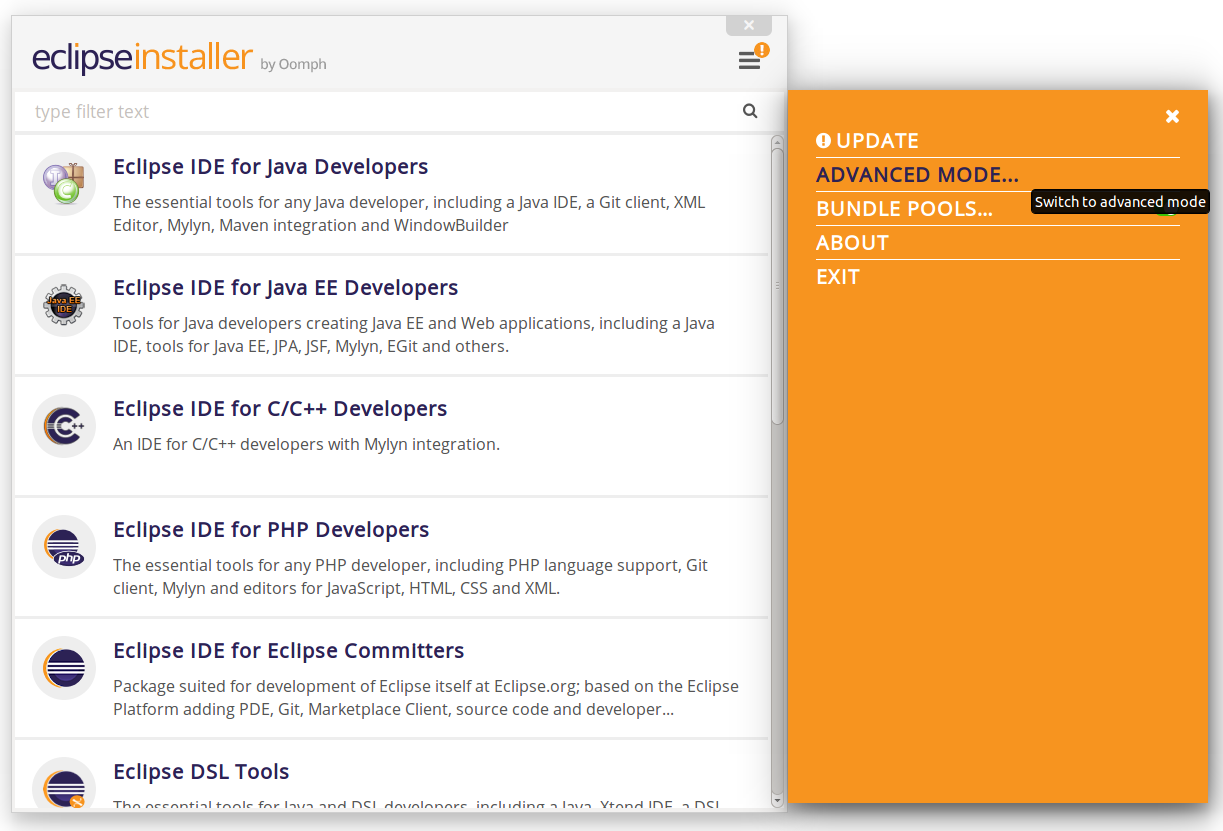
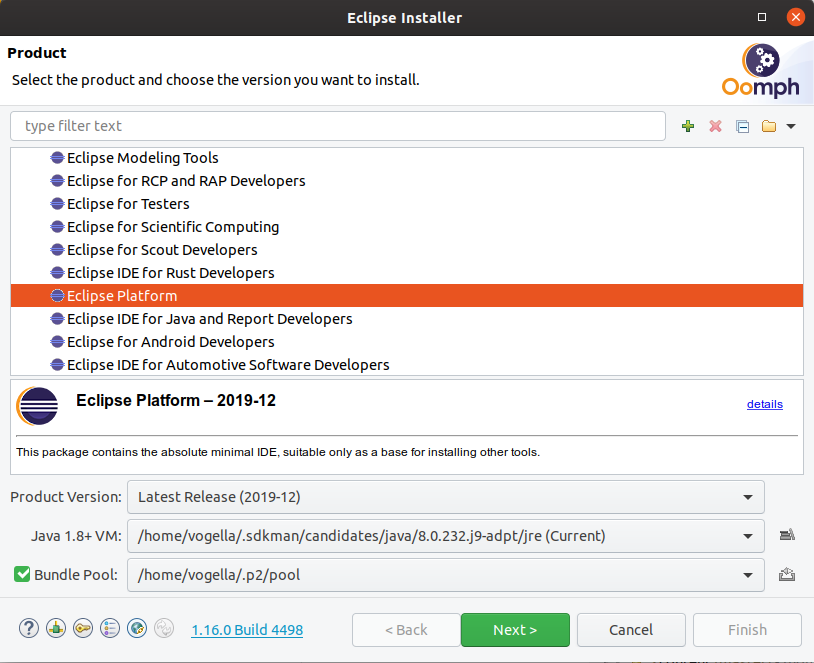
In the advanced mode a certain EPP can also be chosen and when pressing Next > a certain profile can be chosen.
Once Finish has been clicked all the tasks will be processed and a pre-configured Eclipse installation will be started.
3. Oomph custom setup
3.1. Using a new profile
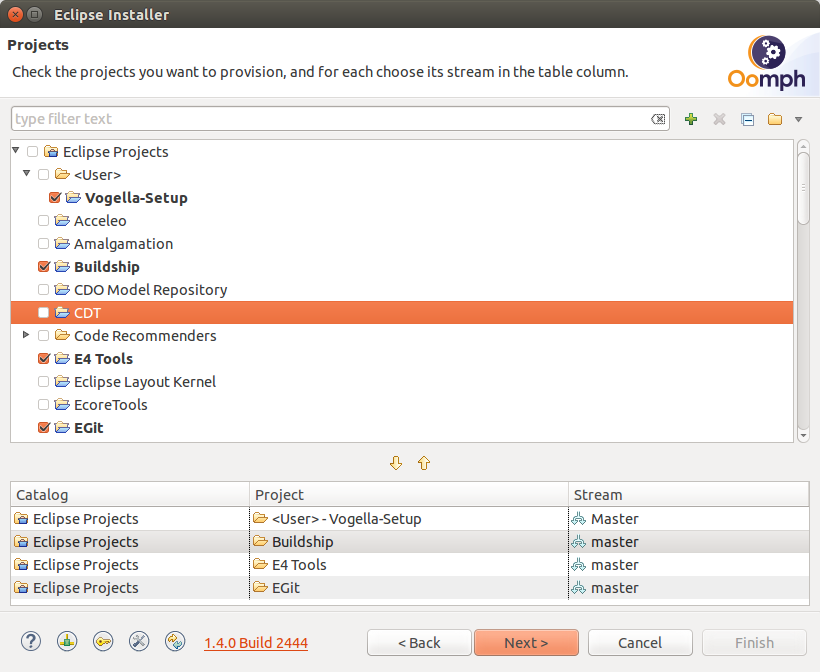
Out of the box the installer provides certain default categories containing different profiles, e.g., for Eclipse Projects. But it is also able to identify user defined profiles like the Vogella-Setup.
Additional user setups can be added by using the green plus button besides the filter text.
Depending on the chosen profiles there will be some extra variables for the installation on the next page.
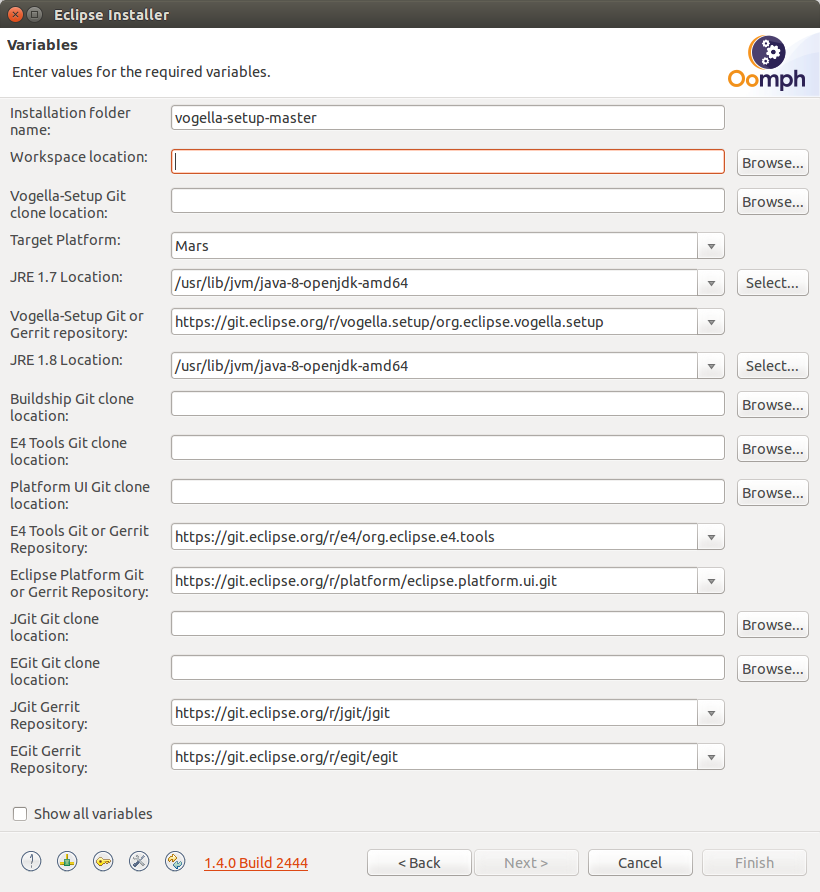
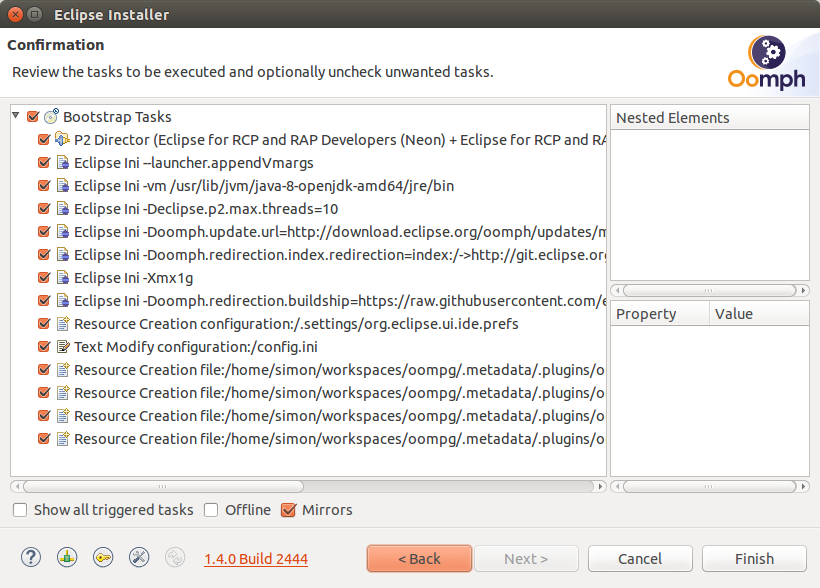
After the variables are configured properly the last wizard page will give an overview about the setup tasks.
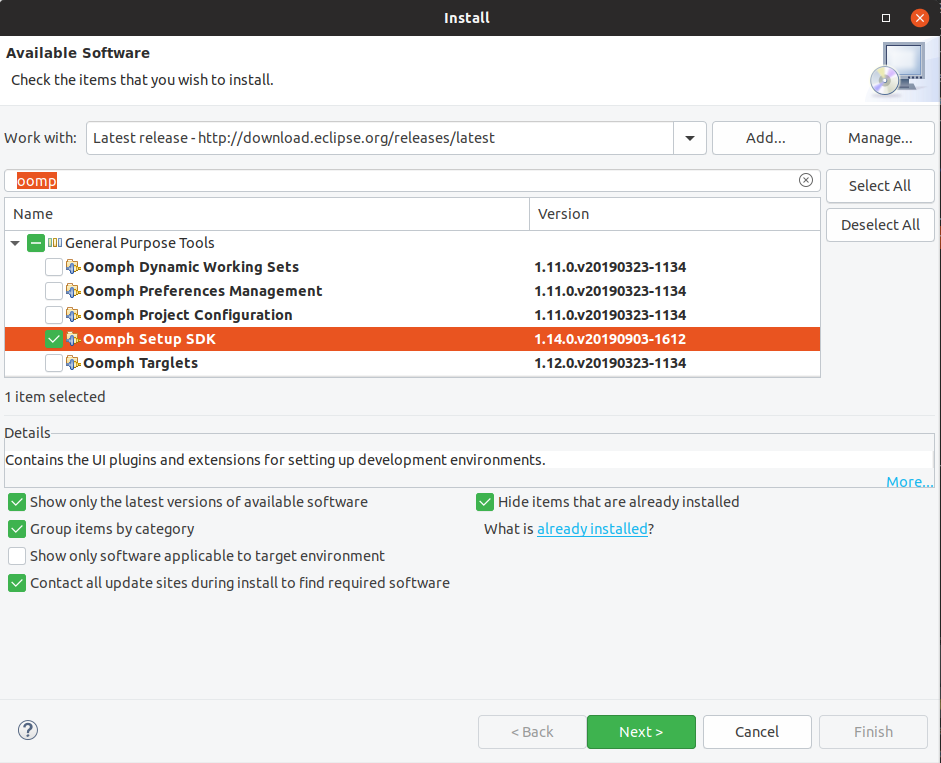
3.2. Install the Oomph Setup SDK
Select and use https://download.eclipse.org/releases/latest to install the Oomph Setup SDK.
3.3. Creating a new profile
Select .
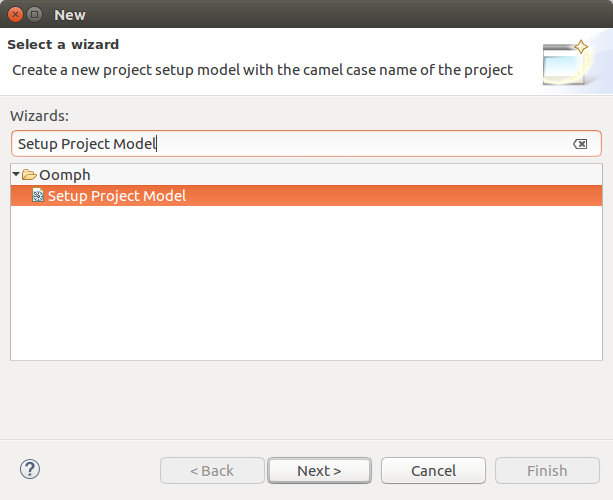
See https://wiki.eclipse.org/Eclipse_Oomph_Authoring for detailed information about the detailed configuration.
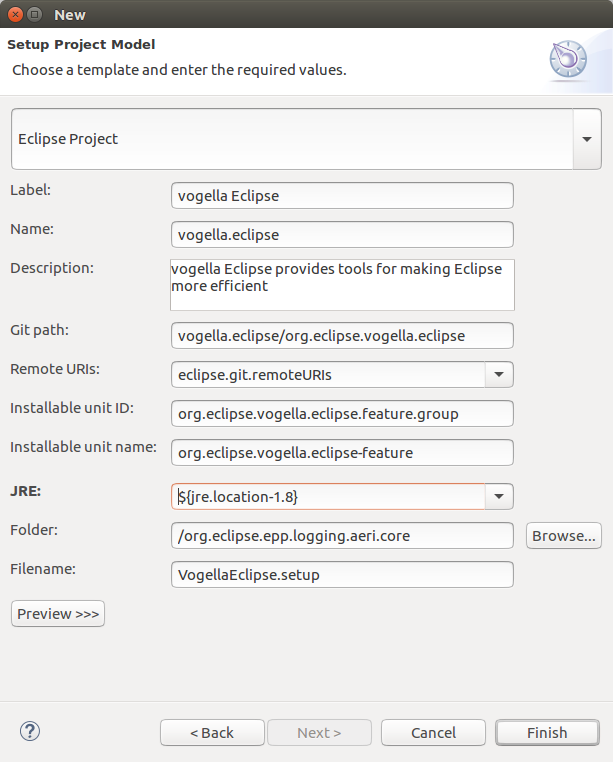
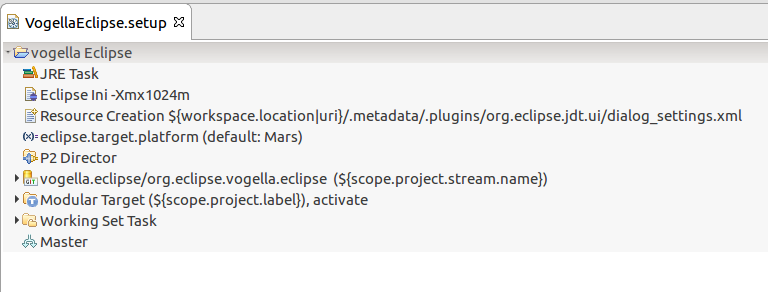
4. Exercise: Create and test a custom setup project model
In this exercise, you learn how to create your own project setup model to:
-
Clone Git repositories
-
Import the included projects
-
Configure some preferences
4.1. Creating a new profile
Select .
See https://wiki.eclipse.org/Eclipse_Oomph_Authoring for detailed information about the detailed configuration.
5. Oomph resources
5.1. vogella Java example code
If you need more assistance we offer Online Training and Onsite training as well as consulting