This tutorial describes how to use (and how to avoid the usage) of the Android support library.
1. Using are the AndroidX libraries from Google
1.1. What is AndroidX or the support libraries
The AndroidX library package is a set of code libraries that provide backward-compatible enhancements of the Android framework. They also features and widgets that are only available through the library APIs. Each AndroidX library is backward-compatible to a specific Android API level.
In general you find two types of libraries. The first type provides framework functionality for older API releases, the second type provides new functionality for all devices. Decoupling the libraries from the core Android platform allow Google to enhance them on a faster pace.
The AndroidX library used to be called support libraries.
1.2. Install support library
The support library allows you to use additional functionality.
This functionality might be provided by higher Android API levels.
It also provides functionality that is unbundled from Android, for example the RecyclerView widget for efficient list display.
Android provides several versions of the support libraries. These are valid as of the respective API level of Android. For example, the support library v7 works as of Android devices with version API 7. Higher versions of the support library require also the lower versions to work. For example, support the v7 library requires the v4 library.
1.3. The support libraries from Google
You have different components here. At the time of this writing you have:
| Support Library | Description | Gradle dependency |
|---|---|---|
v4 Support Library |
Designed for Android 1.6 (API level 4) or higher. Includes lots of things including support for Fragments and the Loader framework. |
Located in the android-sdk/extras/android/support/v7/appcompat/ directory. |
v7 Support Libraries |
Set of libraries which require Android 2.1 (API level 7) and higher. Requires also the v4 Support library. |
|
v7 appcompat library |
Adds support for the Action Bar. Includes also support for material design user interface. |
Located in the android-sdk/extras/android/support/v7/appcompat/ |
v7 cardview library |
Adds support for the CardView widget. |
android-sdk/extras/android/support/v7/cardview/ |
v7 recyclerview library |
Adds support for the RecyclerView widget. |
compile "com.android.support:recyclerview-v7:24.0.0" |
Design library to support material design |
Adds support for material design applications |
compile 'com.android.support:design:24.0.0' |
To see a complete list of the available libraries see http://developer.android.com/tools/support-library/features.html.
2. Remove usage of the support library from a new project
2.1. Why would you remove the support library?
Support libraries are changing very fast therefore it is hard to create a "stable" description how to use them. Also unfortunately the templates of Android studio for generating Android projects are changing all the time. This make testing a new feature or standard API harder. It also makes it harder to follow a tutorial.
2.2. Converting a project to a standard Android project
The build dependency in the Gradle build file does not hurt but you need to remove the references to the compatibility library from your code and your resources.
For this, change the code of the generated activity to extend Activity instead of any other activity like AppCompatActivity.
Also, reduces the example code to the minimum.
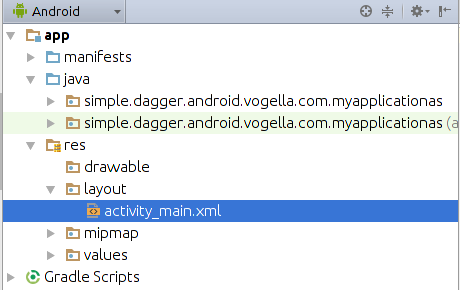
The following is an example for an activity called MainActivity.
package com.vogella.android.myapplicationsdf;

import android.app.Activity;
import android.os.Bundle;

public class MainActivity extends Activity {

    @Override
    protected void onCreate(Bundle savedInstanceState) {
        super.onCreate(savedInstanceState);
        setContentView(R.layout.activity_main);
    }
}
Also ensures that only standard elements are using the generated layout file. The following is an example listing for a simple standard layout file.
<?xml version="1.0" encoding="utf-8"?>
<RelativeLayout xmlns:android="http://schemas.android.com/apk/res/android"
    xmlns:tools="http://schemas.android.com/tools"
    android:layout_width="match_parent"
    android:layout_height="match_parent"
    >

    <TextView
        android:layout_width="wrap_content"
        android:layout_height="wrap_content"
        android:text="Hello World!" />
</RelativeLayout>
Also ensure that the theme is a default theme, instead of the compatibility theme. For this check the app/res/values/styles.xml folder to use the standard material theme.
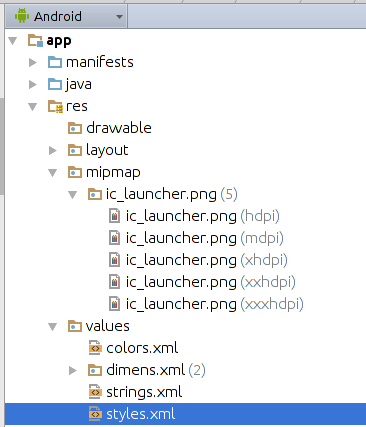
<resources>

    <!-- Base application theme. -->
    <style name="AppTheme" parent="android:Theme.Material.Light.DarkActionBar">
        <!-- Customize your theme here. -->
        <item name="colorPrimary">@color/colorPrimary</item>
        <item name="colorPrimaryDark">@color/colorPrimaryDark</item>
        <item name="colorAccent">@color/colorAccent</item>
    </style>

</resources>
3. Android ActionBar Resources
3.1. vogella Java example code
If you need more assistance we offer Online Training and Onsite training as well as consulting