Hosting your Git repositories. This tutorial explains how to use Bitbucket as hosting provider for your Git repository and how you can install a Git server on your own machine.
1. Git Hosting Provider
Git allows you to host your own Git server. Instead of setting up your own server, you can also use a hosting service. The most popular Git hosting sites are GitHub and Bitbucket. Both offer free hosting with certain limitations.
2. Authentication via SSH
2.1. The concept of SSH
Most Git (and Gerrit) servers support SSH based authentication. This requires a SSH key pair for automatic authentication.
An SSH key par consists of a public and private key. The public key is uploaded to the application you want to authenticate with. The application has no access to the private key. If you interact with the hosting provider via the ssh protocol, the public key is used to identify a user who encrypted the data during communication with the corresponding private key.
2.2. SSH key pair generation
To create an SSH key under Linux (or Windows / Mac with OpenSSH
installed) switch to the command line and
execute
the following
commands.
The generated SSH
key is by default
located in the
.ssh
directory of the user home directory. Ensure that you backup existing
keys in
this directory
before running the following commands.
# Switch to your .ssh directory
cd ~/.ssh
# If the directory
# does not exist, create it via:
# mkdir .ssh
# Manually backup all existing content of this dir!!!
# Afterwards generate the ssh key
ssh-keygen -t rsa -b 4096 -C "your_email@youremail.com"
# Press enter to select the default directory
# You will be prompted for an optional passphrase
# A passphrase protects your private key
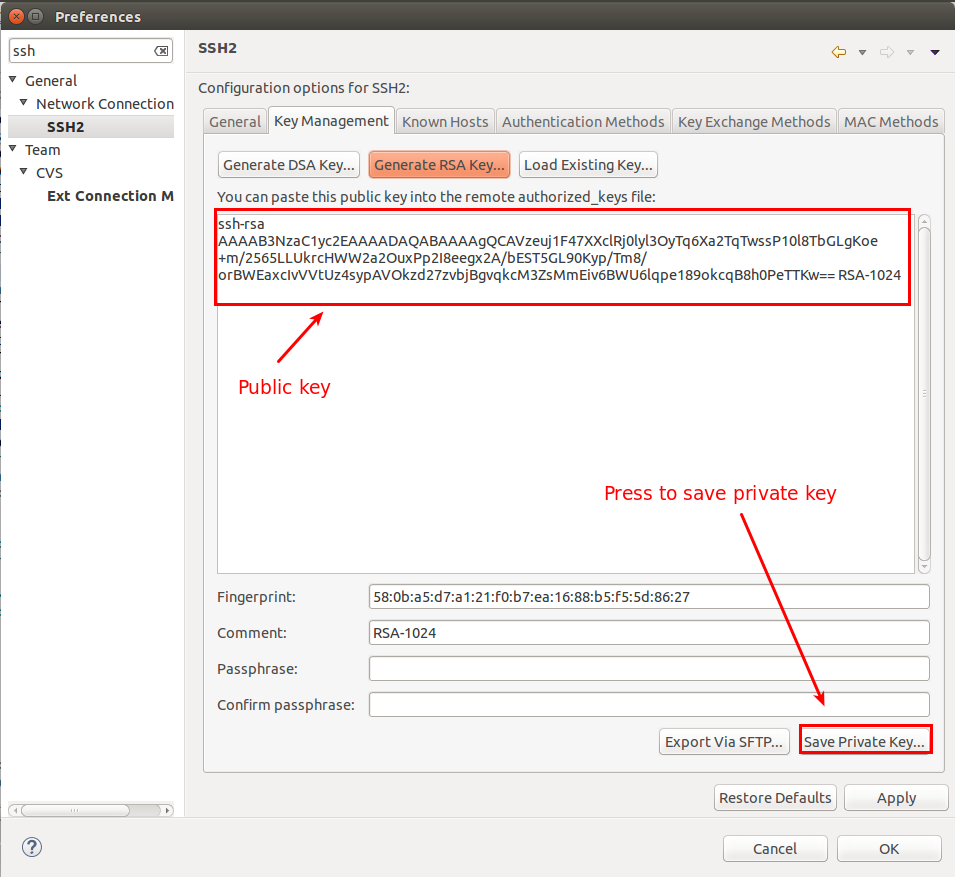
# but you have to enter it manually during ssh operationsThe Eclipse IDE allows you to create an SSH key pair via .
It is good practice to use a
passphrase to protect your
private key. It
is also good practice to
use
operating system level permission settings
to ensure that only
the
owning user can access the
~/.ssh
folder and its content.
In the above
ssh-keygen
command the -C parameter is a comment. Using your email is good
practice so that
someone looking at your public key can contact you
in
case they have
questions. Including the email enables system
administrators
to contact the person in case of questions.
|
The result will be two files,
id_rsa
which is your private key and
id_rsa.pub
which is your public key.
You find more details for the generation of an SSH key on the following webpages: GitHub Help: description of SSH key creation or OpenSSH manual.
You can specify alternative key names with the
-f
parameter on the
command line.
This is helpful if you have multiple
different
repositories and you
want to have a different key for each
one. For
example, you can name
your SSH keys in domain
name format,
e.g.,
eclipse.org
and
eclipse.org.pub
as well as
github.com
and
github.com.pub.
|
You need
additional configuration in the
.ssh/config
file, because
only
the
id_rsa
will be picked up by
default. The following code shows an
example.
Host *.eclipse.org
  IdentityFile ~/.ssh/eclipse.org

Host *.github.com
  IdentityFile ~/.ssh/github.com
3. Bitbucket
3.1. What is Bitbucket?
Bitbucket offers free hosting of public and private Git repositories.
Bitbucket allows unlimited public and private repositories. The number of participants for a free private repository is currently limited to 5 collaborators, i.e., if you have more than 5 developers which need access to a private repository you have to pay money to BitBucket.
3.2. Creating a repository
You need to create a user via the web interface of Bitbucket. After creating this user you can create new repositories via the web interface.
After creating a new repository on BitBucket, you can use the following instructions connect a local Git repository with the BitBucket repository.
These instructions will be similar to the following commands.
# Global setup:
# Set up git
  git config --global user.name "Your Name"
  git config --global user.email your.email@gmail.com

# Next steps for a new repository
  mkdir gitbook
  cd gitbook
  git init
  touch README
  git add README
  git commit -m 'first commit'
  git remote add origin ssh://git@bitbucket.org/vogella/gitbook.git
  git push -u origin master

# alternatively for an existing Git repo
# add remote and push
  cd existing_git_repo
  git remote add origin ssh://git@bitbucket.org/vogella/gitbook.git
  git push -u origin master
4. Own Git server
4.1. Hosting your own Git server
As described before, you do not need a server. You can just use a file system or a public Git provider, such as GitHub or Bitbucket. Sometimes, however, it is convenient to have your own server, and installing it under Ubuntu is relatively easy.
First make sure you have installed the SSH tooling.
sudo apt-get install sshIf you have not yet installed Git on your server, you need to do this too.
sudo apt-get install git-coreCreate a new user and set a password for the Git system.
sudo adduser gitNow log in with your Git user and create a bare repository.
# Login to server
# to test use localhost
ssh git@IP_ADDRESS_OF_SERVER

# Create repository
git init --bare example.git
Now you can push to the remote repository.
mkdir gitexample
cd gitexample
git init
touch README
git add README
git commit -m 'first commit'
git remote add origin git@IP_ADDRESS_OF_SERVER:example.git
git push origin master
4.2. Give write access to a Git repository
The typical setup based on the created git user from above is that the public SSH key of each user is added to the ~/.ssh/authorized_keys file of the git user.
Afterwards everyone can access the system using the git user.
Alternatively you could use LDAP authentication or other special configurations.
4.3. Security setup for the git user
The Git installation provides a specialized shell, which can be assigned to the user.
Typically this shell is located in /usr/bin/git-shell and can be assigned to the Git user via the /etc/passwd configuration file.
If you assign this shell to the Git user, this user can also perform git commands which add safety to your Git setup.
5. Links and Literature
If you need more assistance we offer Online Training and Onsite training as well as consulting